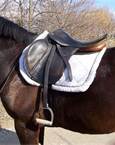
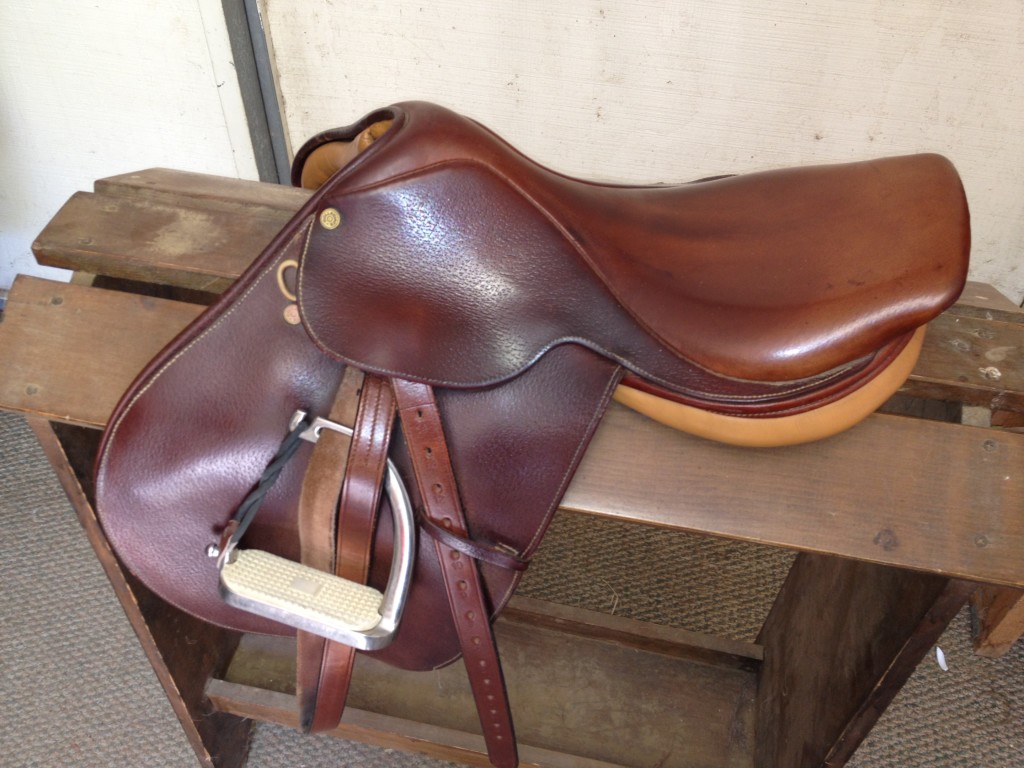
Every day we ride in our tack. We use and abuse our saddles, bridles, halters, pads, and bits. Unless you intend to replace these items every few years, you had better plan on taking care of them. Our saddles are our biggest investment next to the horses themselves. They are also the most used and often the least cared for. Our safety depends on the condition of our tack, so you should set aside time to clean and condition it. English saddles are not too complicated. They don’t have lots of hard to reach places and are usually made of good quality leather that can be easily cleaned. With some simple supplies and a little elbow grease you’ll have that saddle looking great in no time.
I have spent many a morning at shows putting saddles back together after a student took them apart to clean. The students simply didn’t know what went where after it was scattered in pieces all around them. Therefore; you might want to begin by taking a picture of your saddle while it is still put together. That way you will have something to compare it to when you start putting all the clean pieces back together. Also, mark which stirrup leather is the right and left. You will want to switch them when you reassemble the saddle.
First gather all the materials you will need. 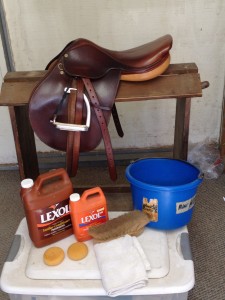
- A bucket filled with warm water. You will use this water to clean the leather.
- A soft brush
- Your favorite leather cleaner.
- Your favorite leather conditioner.
- Several small sponges.
- Several clean towels. Small ones work well.
- Optional- Silver cleaner or polish
- A saddle rack
- Industrial type vacuum cleaner such as a Shop-Vac or a household vacuum with attachments.
Next remove the saddle pad, stirrup leathers, irons and girth from the saddle. The saddle pad and girth should be removed every time you ride, but if you tend to leave them on, remove them now. Place the saddle on the saddle rack. Be sure to mark the stirrup leathers with a right and left sticker or label. I used painters tape in the picture.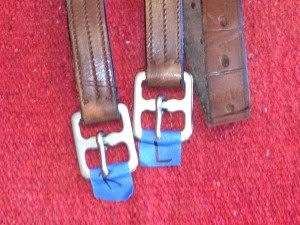 Every time you clean the saddle, you should change which side the leathers are on. That will help them stretch out evenly and they will last longer. The saddle pad should be machine washable so you can do that while you work on the saddle.
Use the vacuum with a brush attachment to remove all dust, sweat and hair from the entire saddle. Pay extra attention to the underside of the skirt, the stirrup bars, along the stitching and grooves. If dirt is still visible, use the soft brush to help remove it. You can also use the vacuum on the stirrup leathers and treads if they are caked with dirt. Take a moment to check that all the stitching is tight and intact, especially on the billets, girth and leathers. Loose stitching could come apart at the most inopportune moment resulting in a slipped saddle or lost stirrup. Also check for protruding nails. Most saddles are held together with some nails. Over time they can come loose and work their way to the surface, injuring a horse or rider. Finally, check for overly stretched elastic on girths or stretched out billets. These worn parts need to be replaced if you are going to continue to use the saddle safely.
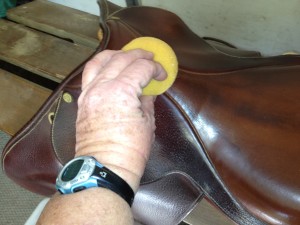 Once you discern that the saddle is in good shape, you’re ready to clean. First dampen a sponge in the warm water. Now apply a small amount of leather cleaner to the sponge, not the saddle. Begin by cleaning both sides of the stirrup leathers. Work up a lather to remove all the dirt and metal residue. Use a clean, slightly damp towel to remove all the excess lather, thus removing the dirt as well. Make sure you get all the stitching clean. Soap residue can prematurely rot the stitching. If you have a leather girth, clean it as well. Set all pieces aside to dry. Now it’s time to focus on the saddle itself. Put it on the saddle rack. Using a damp sponge and leather cleaner begin at the pommel and work your way along the seat. Work up a good lather in each area. Use a clean towel to remove the lather before you move on to another area. It’s best to do one small section at a time, cleaning then wiping, until you have finished the entire top of the saddle. Next move to the flaps using the same technique. Make sure you get both sides of the flaps and the billets. Finally turn the saddle upside down and clean the panels and underside of the saddle.
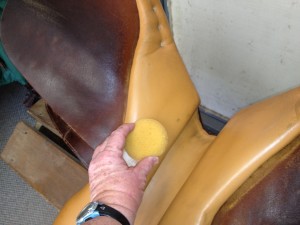
Now it’s time for the conditioner. Starting with your leathers and girth, use another clean, dry sponge to apply conditioner to the piece. Rub it in well. Using your hands will help the conditioner penetrate. Repeat until the leather is no longer absorbing the conditioner. Several light applications works better than one heavy one. Use a dry towel to remove the excess and buff lightly to make it shine. Set that piece aside and continue with the next piece. Next, start at the top of the saddle and condition in the same order that you cleaned, working a small area at a time. Repeat until the entire saddle is conditioned, dry and buffed to a slight shine. Once it’s all clean and conditioned it’s time to put it all back together…
Put the saddle right-side up on your saddle rack. Find the left stirrup leather. Run the leather through the stirrup iron and then put it on the right side of the saddle. Repeat with the other leather and iron. By changing the leathers from one side to the other, you assure they will stretch out evenly and keep the stress damage on the mounting side to a minimum. If only we could do this with western saddles…
Make sure the irons are facing the correct direction if they have a front and back. Most irons can go either way, but some, such as peacock irons, have a front and back. On peacock irons, the open side or rubber band must go to the outside when the rider’s foot is properly placed in the iron. Therefore, that side would face the front of the saddle if the iron is hanging flat against the saddle. Make sure to run up the stirrups. Now place your clean girth on top, run the ends through the irons and you’re ready to put it away. Or on your horse! Have a great ride!
Cheryl Rohnke Kronsberg is a Certified Horsemanship Association Master Instructor and Clinic Instructor. Cheryl graduated from Rawhide Vocational College and Fullerton College. She is also an AQHA Professional Horsewoman. Cheryl has been teaching riding and horsemanship for over 30 years, training students from beginner up to world level competition. Currently she and her husband own and operate CRK Training Stable in Yorba Linda, CA. We welcome your comments and questions. Please feel free to share this article with your friends, but rights to publish this article or post it on web sites are restricted. For more interesting articles from Cheryl go to www.crktrainingstable.com

